拖拽效果 Drag and Drop
1. 概述
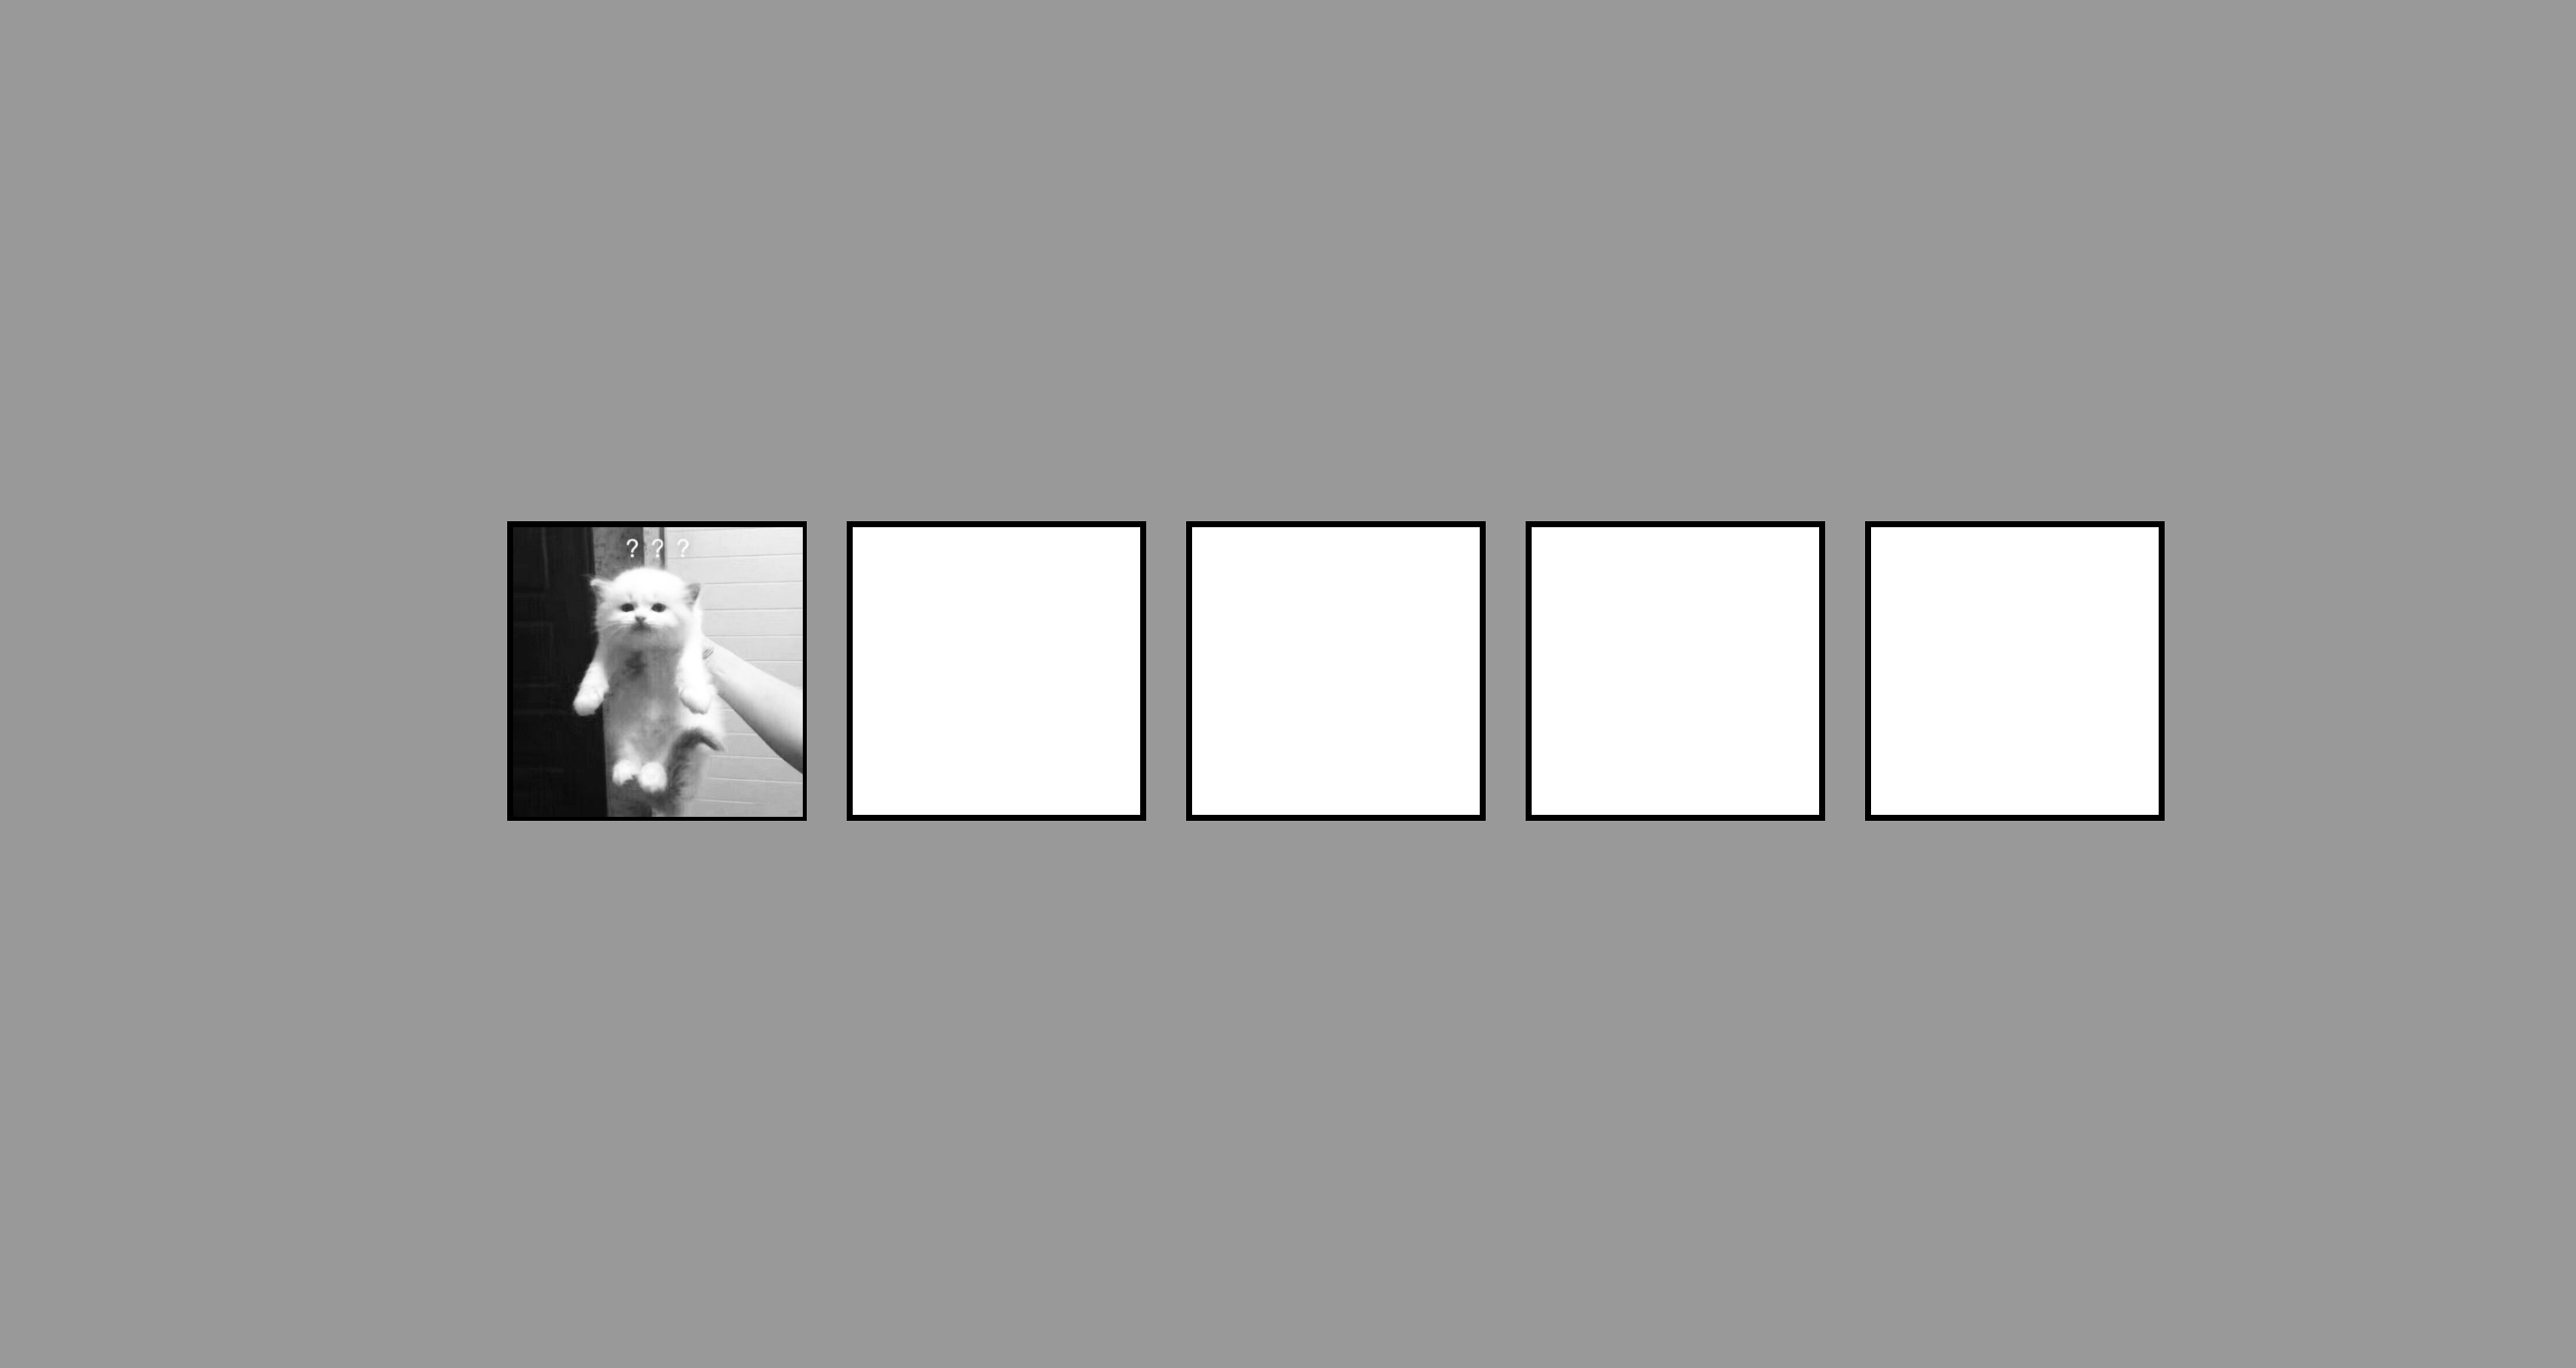
项目本体展示了数个框体, 用户可将第一个框体的内容随意拖拽到其他任何框体中, 也可以来回拖拽.
本项目中涉及的知识点:
- 使用
drag属性控制元素是否可被拖拽 - 利用多个与
drag相关的事件控制元素被拖拽时本身及相关元素的行为
效果:

2. 结构和切图
网页的基本结构如下:
1
2
3
4
5
6
7
8
9
<body>
    <div class="empty">
        <div class="fill" draggable="true"></div>
    </div>
    <div class="empty"></div>
    <div class="empty"></div>
    <div class="empty"></div>
    <div class="empty"></div>
</body>
3. 编写 CSS 样式
从效果图中不难看出 body 的排版方式是水平垂直居中:
1
2
3
4
5
6
7
8
9
body {
    background-color: #999999;
    display: flex;
    align-items: center;
    justify-content: center;
    height: 100vh;
    overflow: hidden;
    margin: 0;
}
对于每一个容器, 我们分别定义它们在:
- 空闲时:
1
2
3
4
5
6
7
 .empty {
             height: 150px;
             width: 150px;
             margin: 10px;
             border: solid 3px black;
             background: white;
         }
- 填充时:
1
2
3
4
5
6
 .fill {
     background: url('../expanding-cards/avatar1.JPG') no-repeat center center/cover;
     height: 145px;
     width: 145px;
     cursor: pointer;
 }
- 填充物悬浮于其上时:
1
2
3
4
5
 .hovered {
     background-color: #333;
     border-color: #fff;
     border-style: dashed;
 }
的样式.
我们然后定义填充物悬浮时其边框的样式:
1
2
3
.hold {
    border: solid 5px #ccc;
}
最后, 完整的 CSS 样式表如下:
1
2
3
4
5
6
7
8
9
10
11
12
13
14
15
16
17
18
19
20
21
22
23
24
25
26
27
28
29
30
31
32
33
34
35
36
37
38
39
40
41
* {
    box-sizing: border-box;
}
body {
    background-color: #999999;
    display: flex;
    align-items: center;
    justify-content: center;
    height: 100vh;
    overflow: hidden;
    margin: 0;
}

.empty {
    height: 150px;
    width: 150px;
    margin: 10px;
    border: solid 3px black;
    background: white;
}

.fill {
    background: url('../expanding-cards/avatar1.JPG') no-repeat center center/cover;
    height: 145px;
    width: 145px;
    cursor: pointer;
}
.hold {
    border: solid 5px #ccc;
}
.hovered {
    background-color: #333;
    border-color: #fff;
    border-style: dashed;
}

@media (max-width: 800px){
    body {
        flex-direction: column;
    }
}
4. JavaScript
最后编写 JavaScript 函数:
1
2
3
4
5
6
7
8
9
10
11
12
13
14
15
16
17
18
19
20
21
22
23
24
25
26
27
28
29
30
31
32
33
34
35
36
37
38
39
40
41
42
43
44
45
46
47
48
49
50
51
52
53
54
55
// get that filled container
const fill = document.querySelector('.fill');
// and get all other containers which are not being filled
const empties = document.querySelectorAll('.empty');

// add event listeners to check when the container is
// being dragged or dragging is finished
fill.addEventListener('dragstart', dragStart);
fill.addEventListener('dragend', dragEnd);

// and add event listeners for these empty containers
// to detect several possible kinds of incidents:
for (const empty of empties) {
    // when the filled obj is hovering over
    empty.addEventListener('dragover', dragOver);
    // when the filled obj is entering
    empty.addEventListener('dragenter', dragEnter);
    // when the filled obj is leaving
    empty.addEventListener('dragleave', dragLeave);
    // when the filled obj is dropped
    empty.addEventListener('drop', dragDrop);
}

// start dragging: remove the context of the original container
function dragStart() {
    this.className += ' hold';
    setTimeout(() => this.className = 'invisible', 0);
}

// fill in the context to the container being dragged to
function dragEnd() {
    this.className = 'fill';
}

// stop the event's default actions
function dragOver(e) {
    e.preventDefault();
}

// change the container's style: add dashed lines
function dragEnter(e) {
    e.preventDefault();
    this.className += ' hovered';
}

// change the container's style: remove dashed lines
function dragLeave(e) {
    this.className = 'empty';
}

// dropped
function dragDrop(e) {
    this.className = 'empty';
    this.append(fill);
}
最后, 完整的网页演示可见 此处